How to Use Your Epilaser
Before You Begin
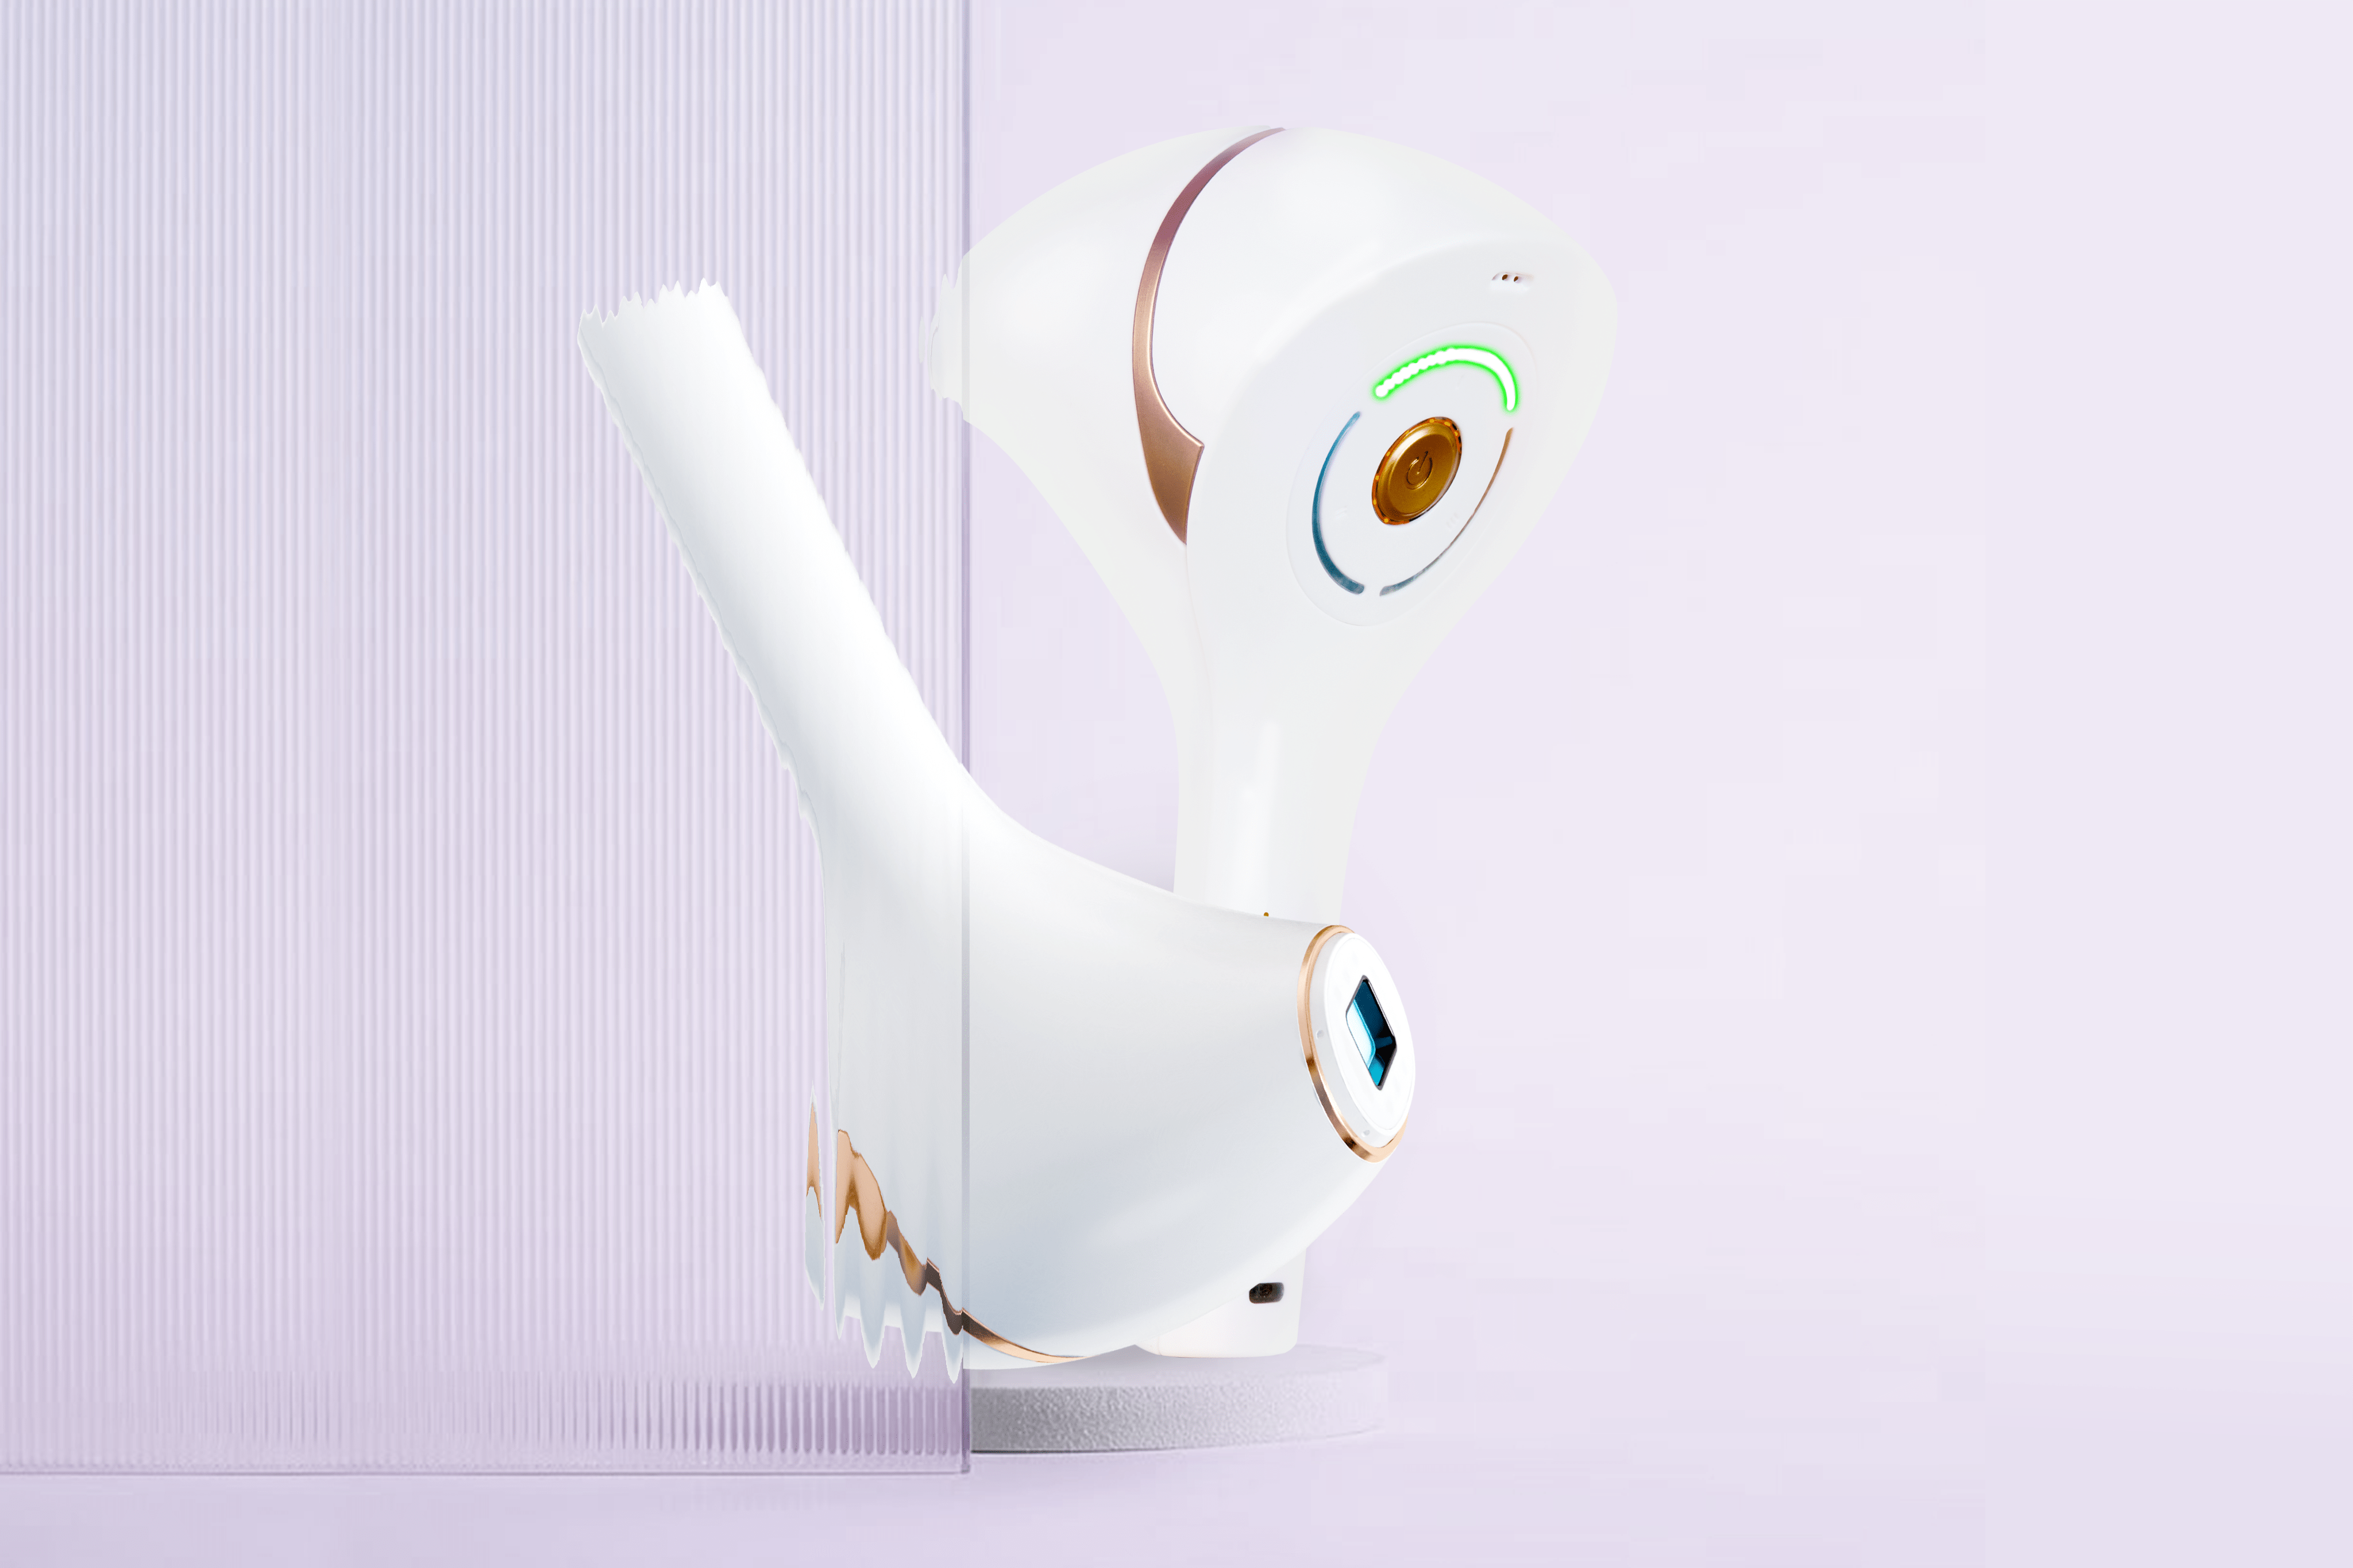
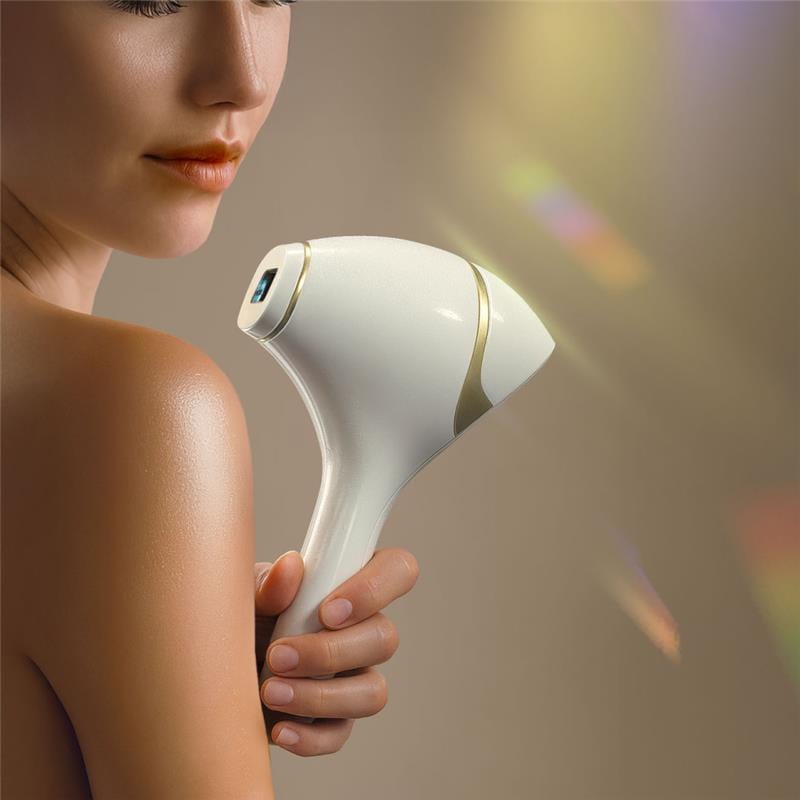
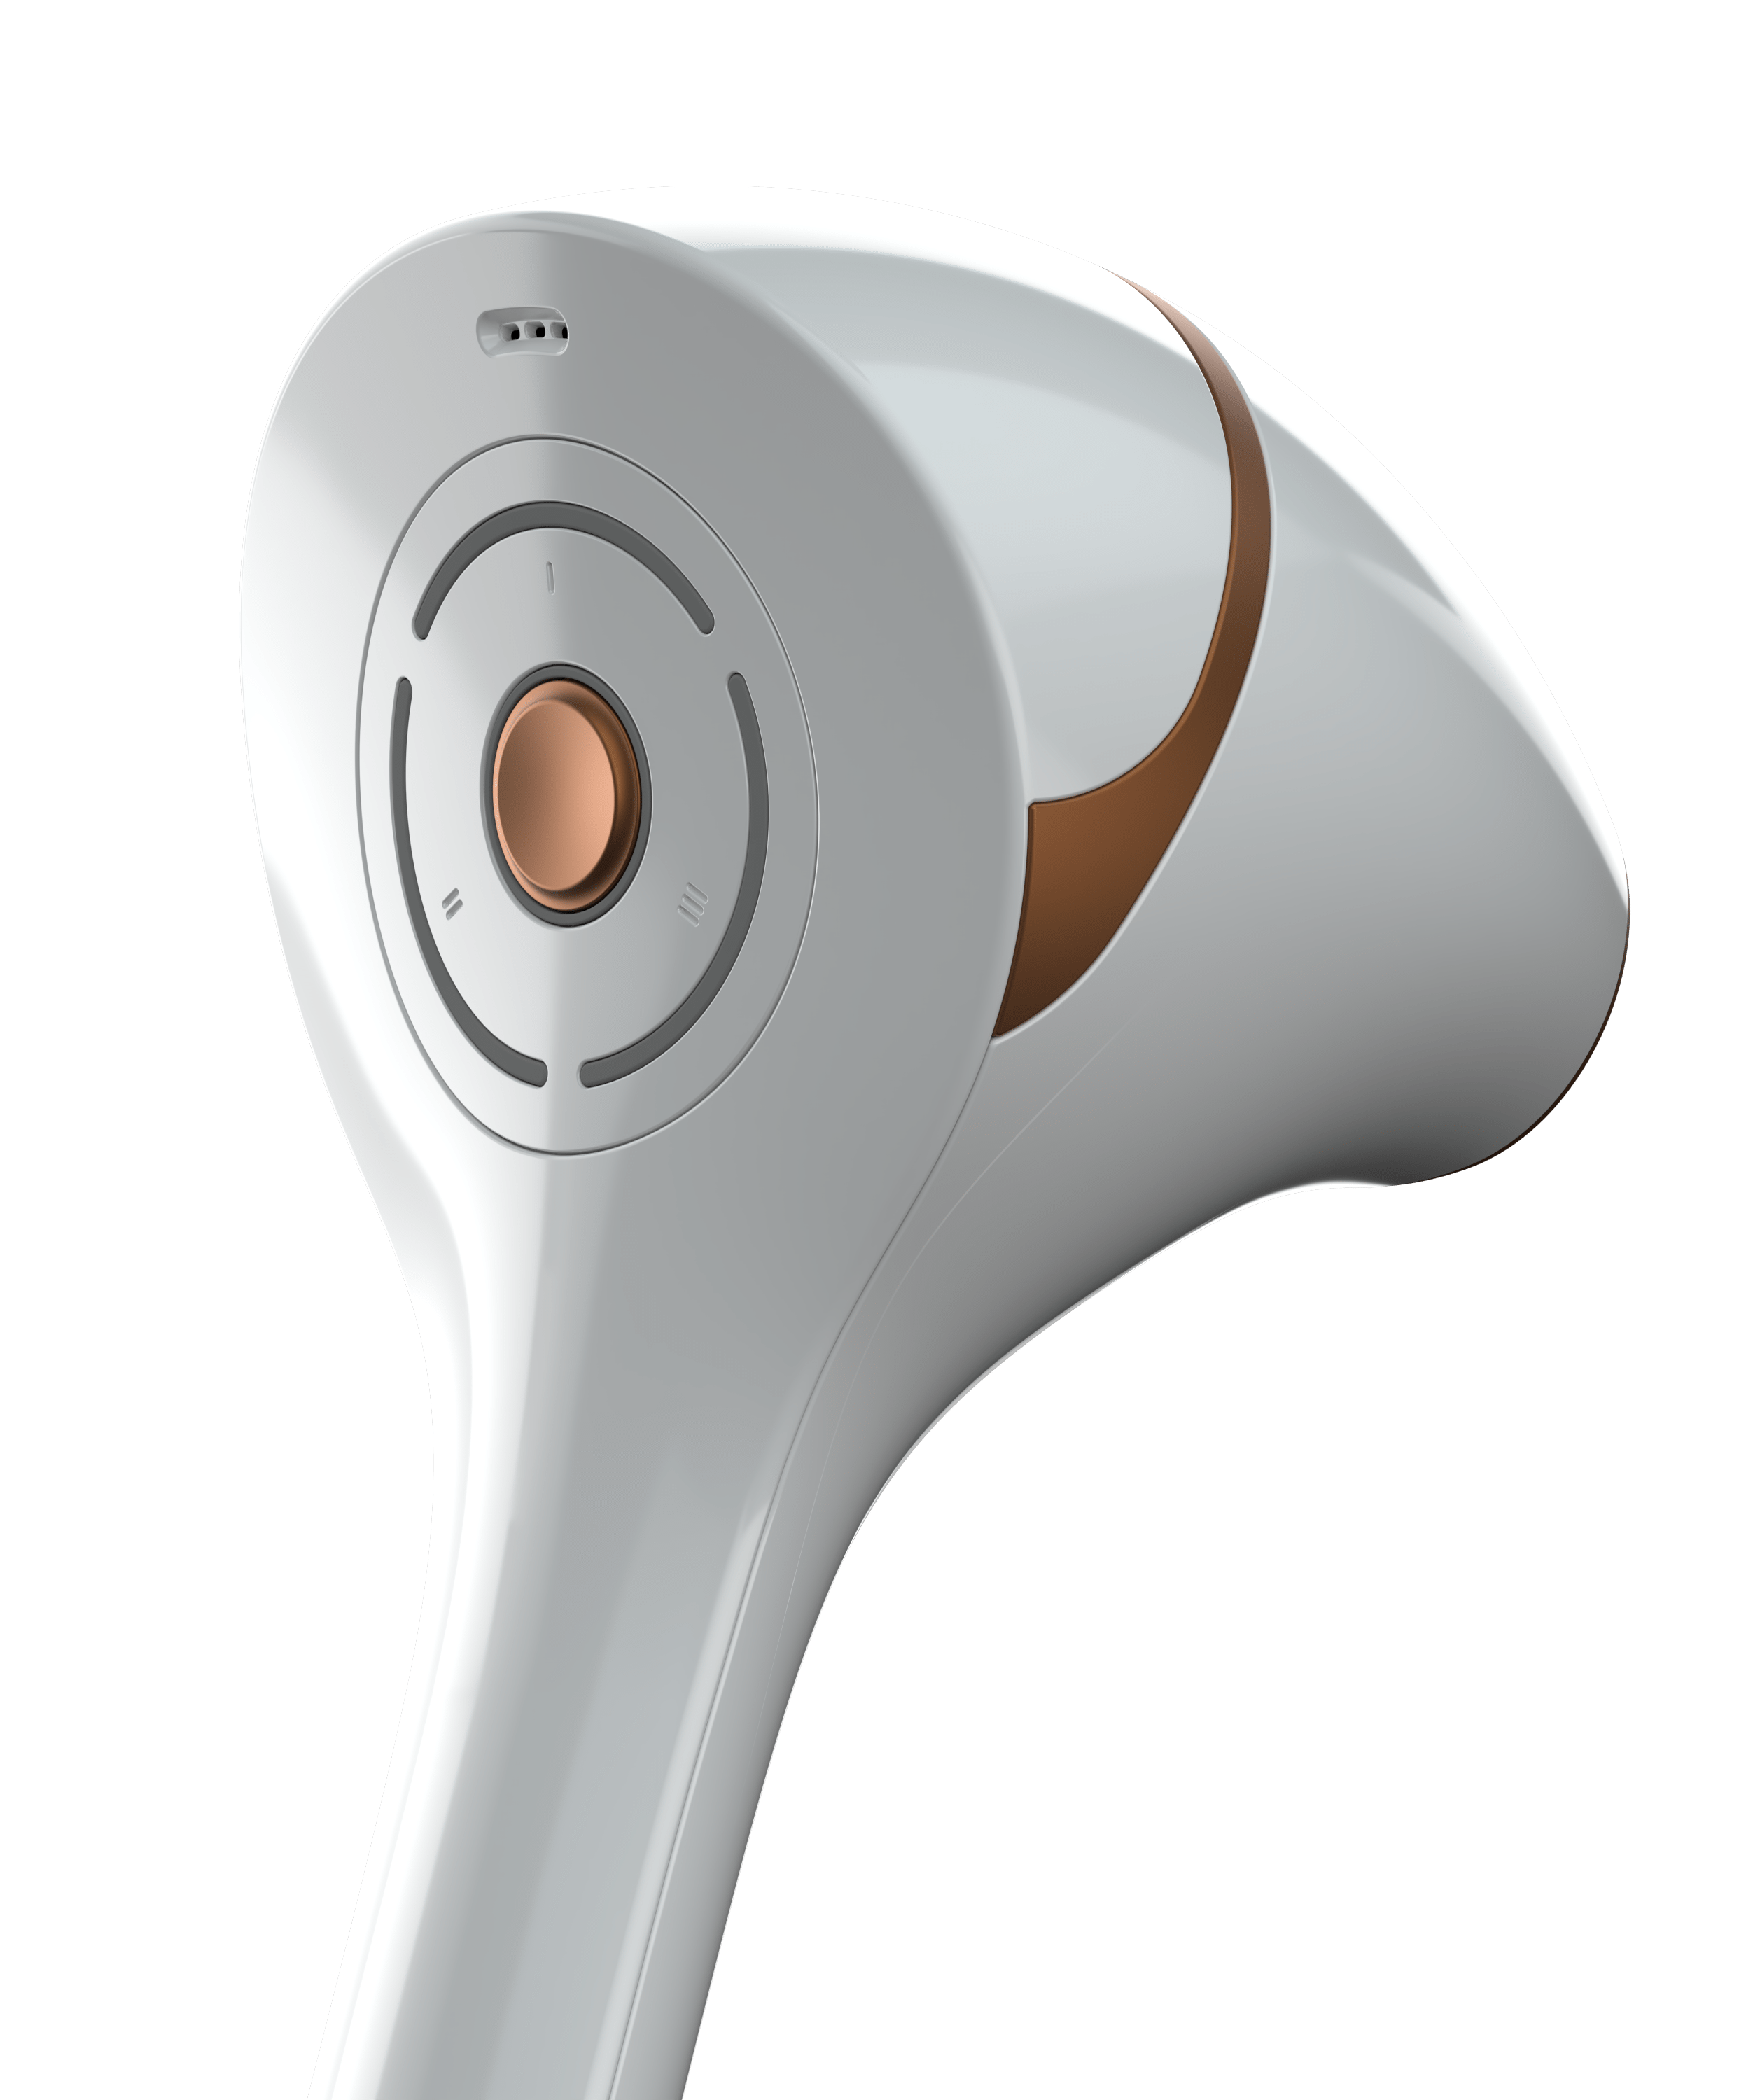
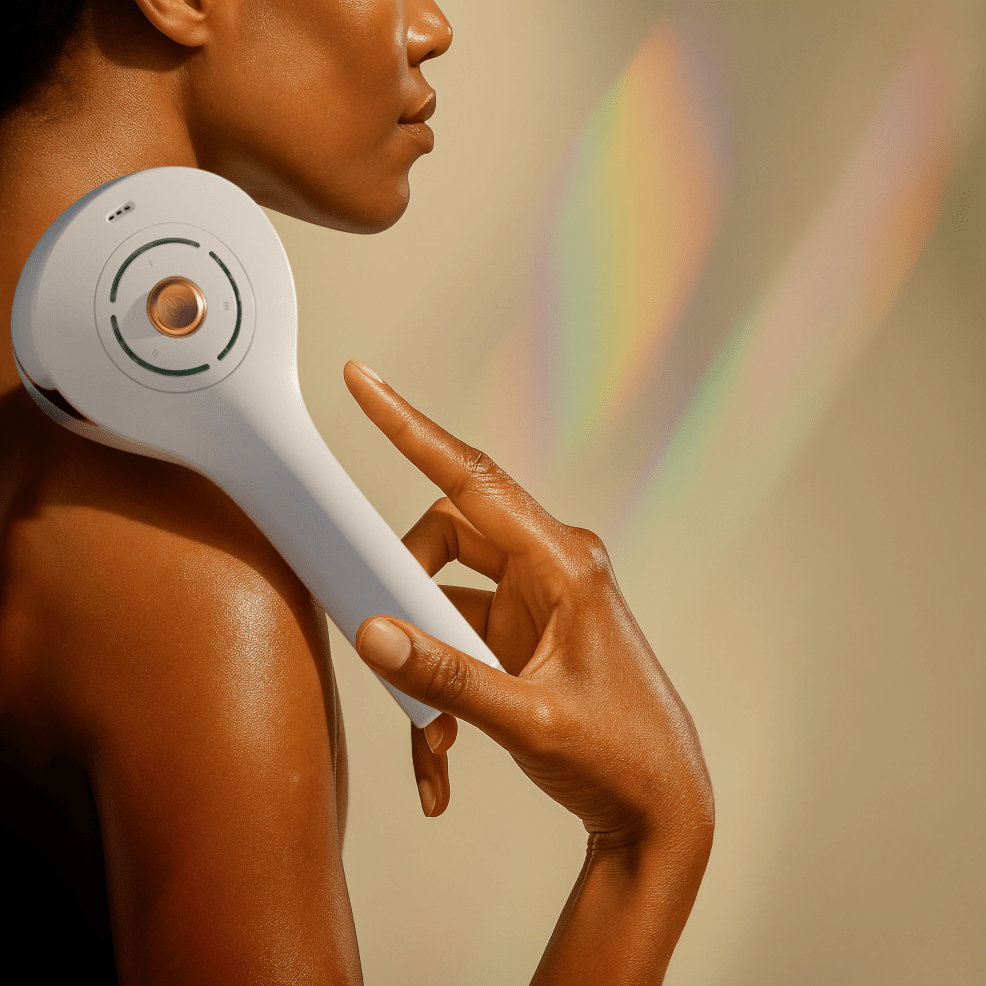
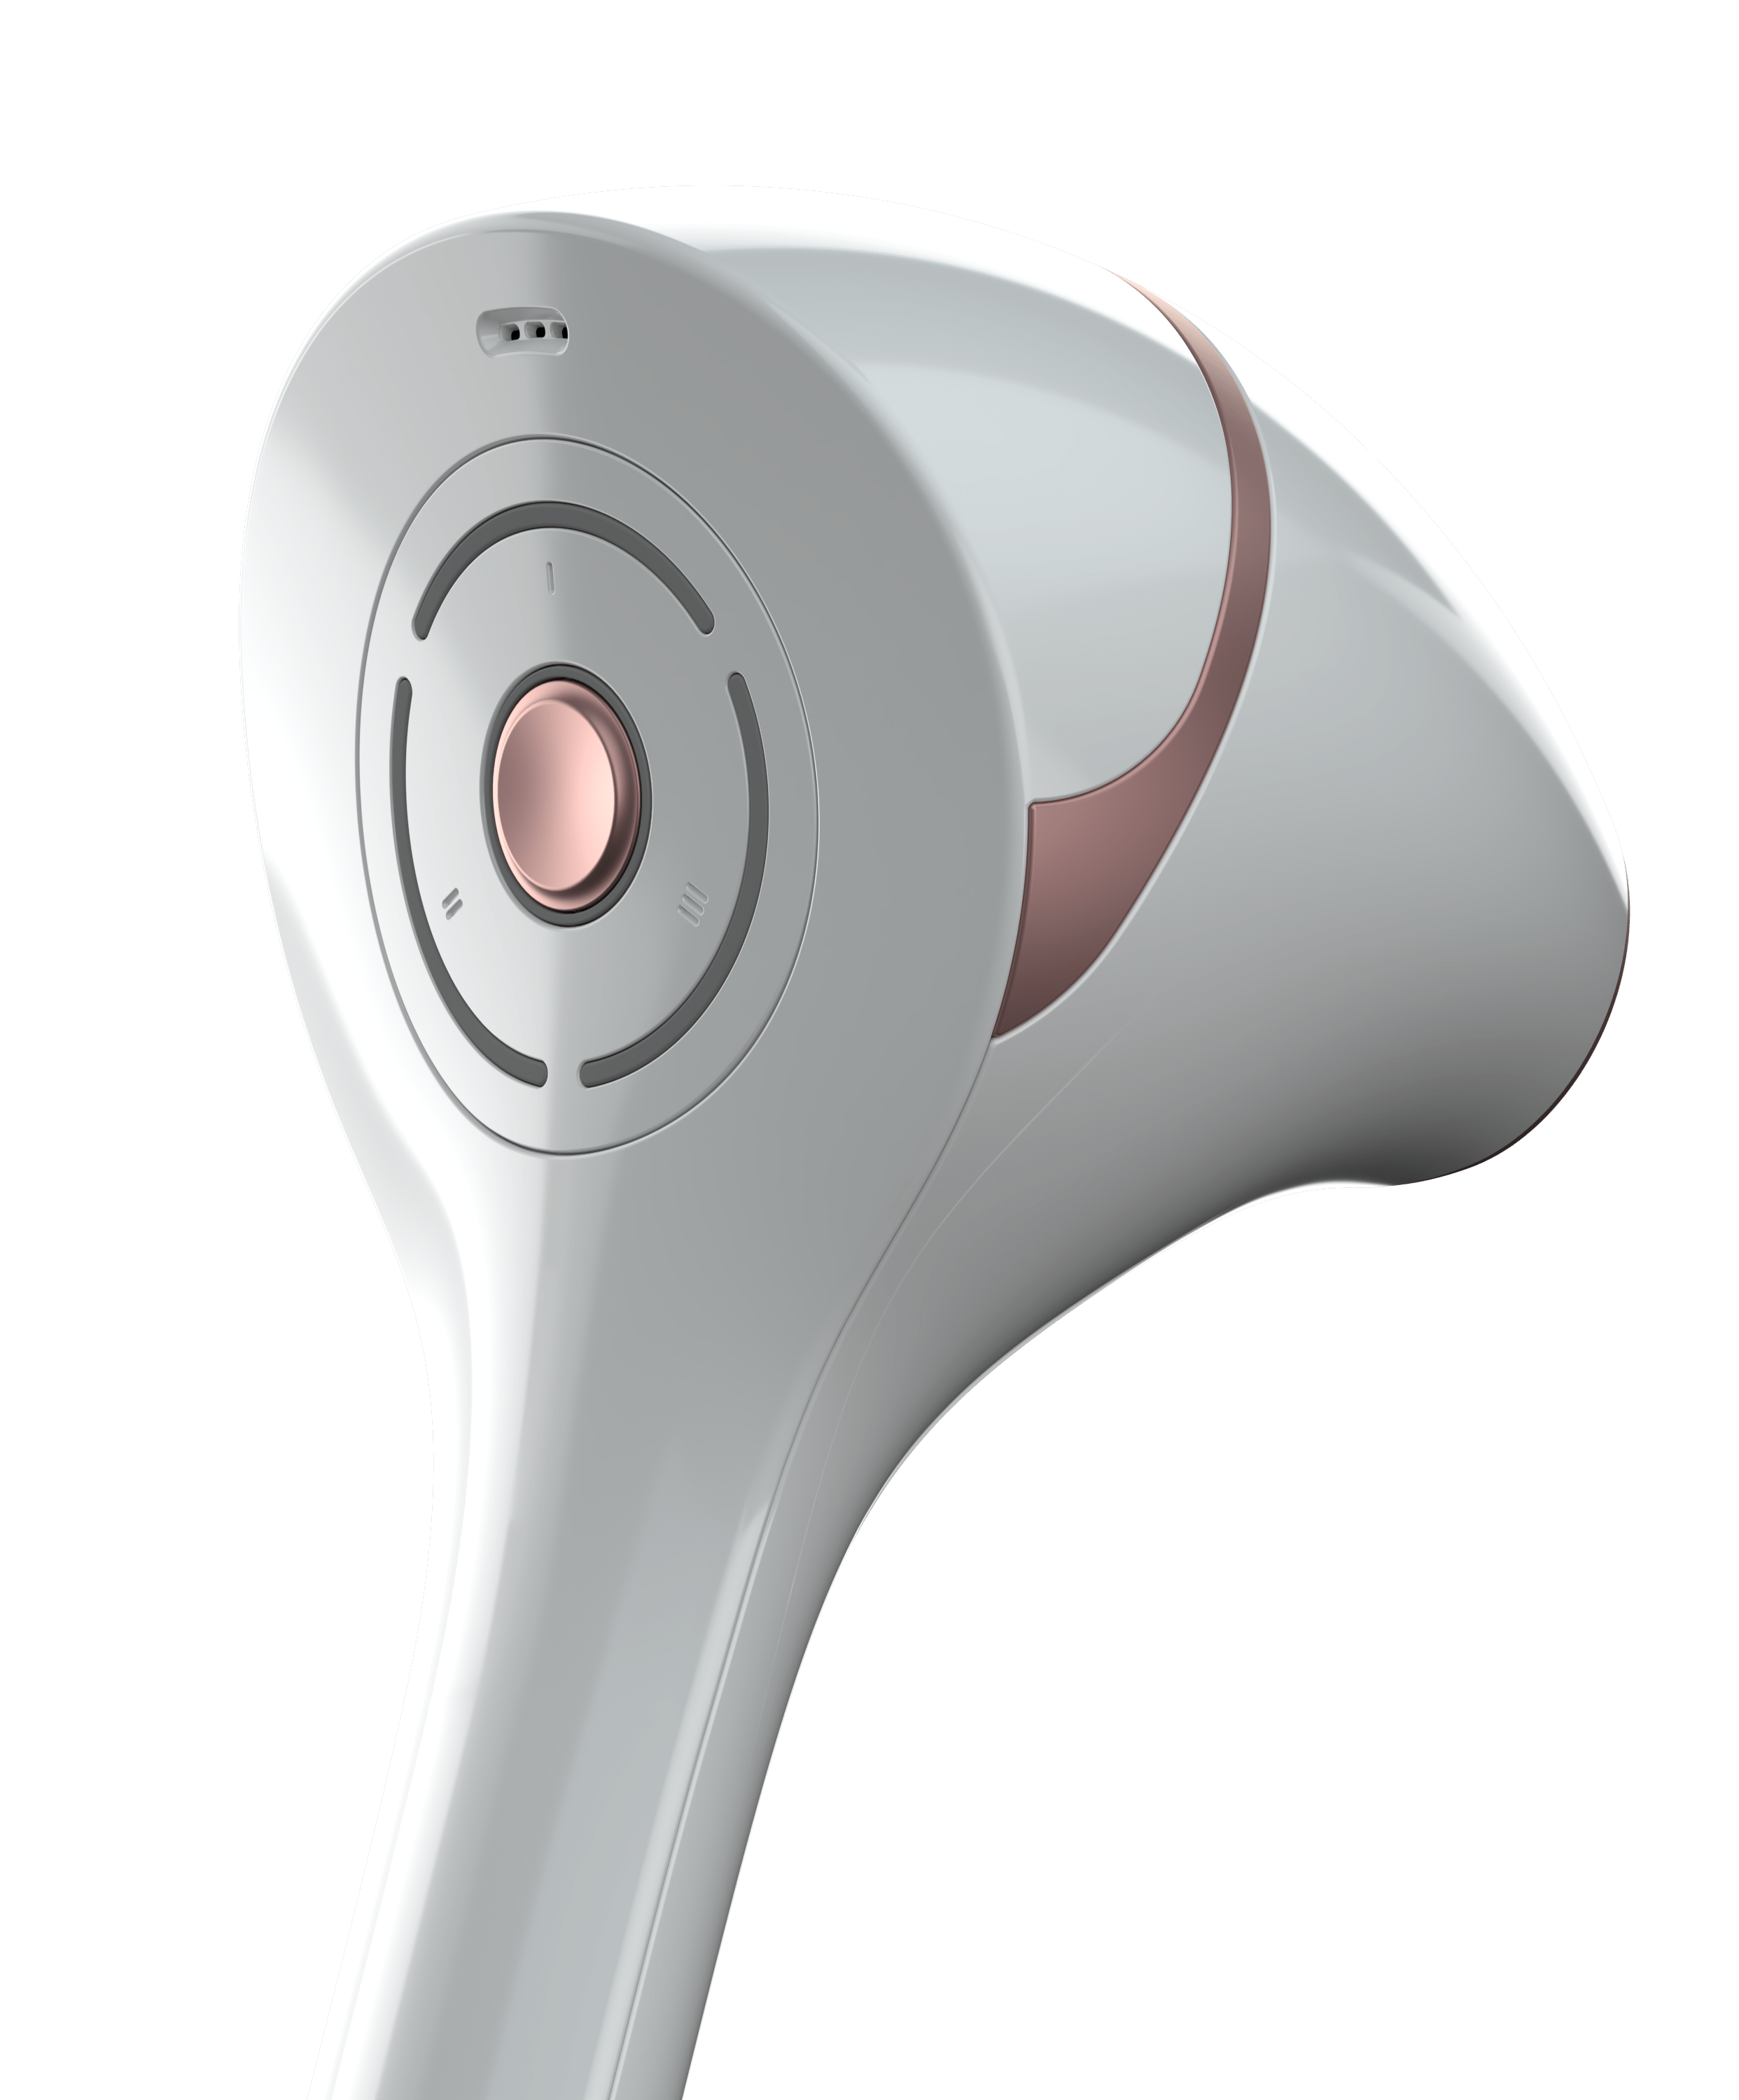
Get to Know Your Epilaser

Epilaser Is Perfect For

Arms
Get rid of stubborn hair on your forearms, upper arms, and underarms.

Lower Face
Perfect for permanent facial hair removal on the chin, upper lip, and cheeks.

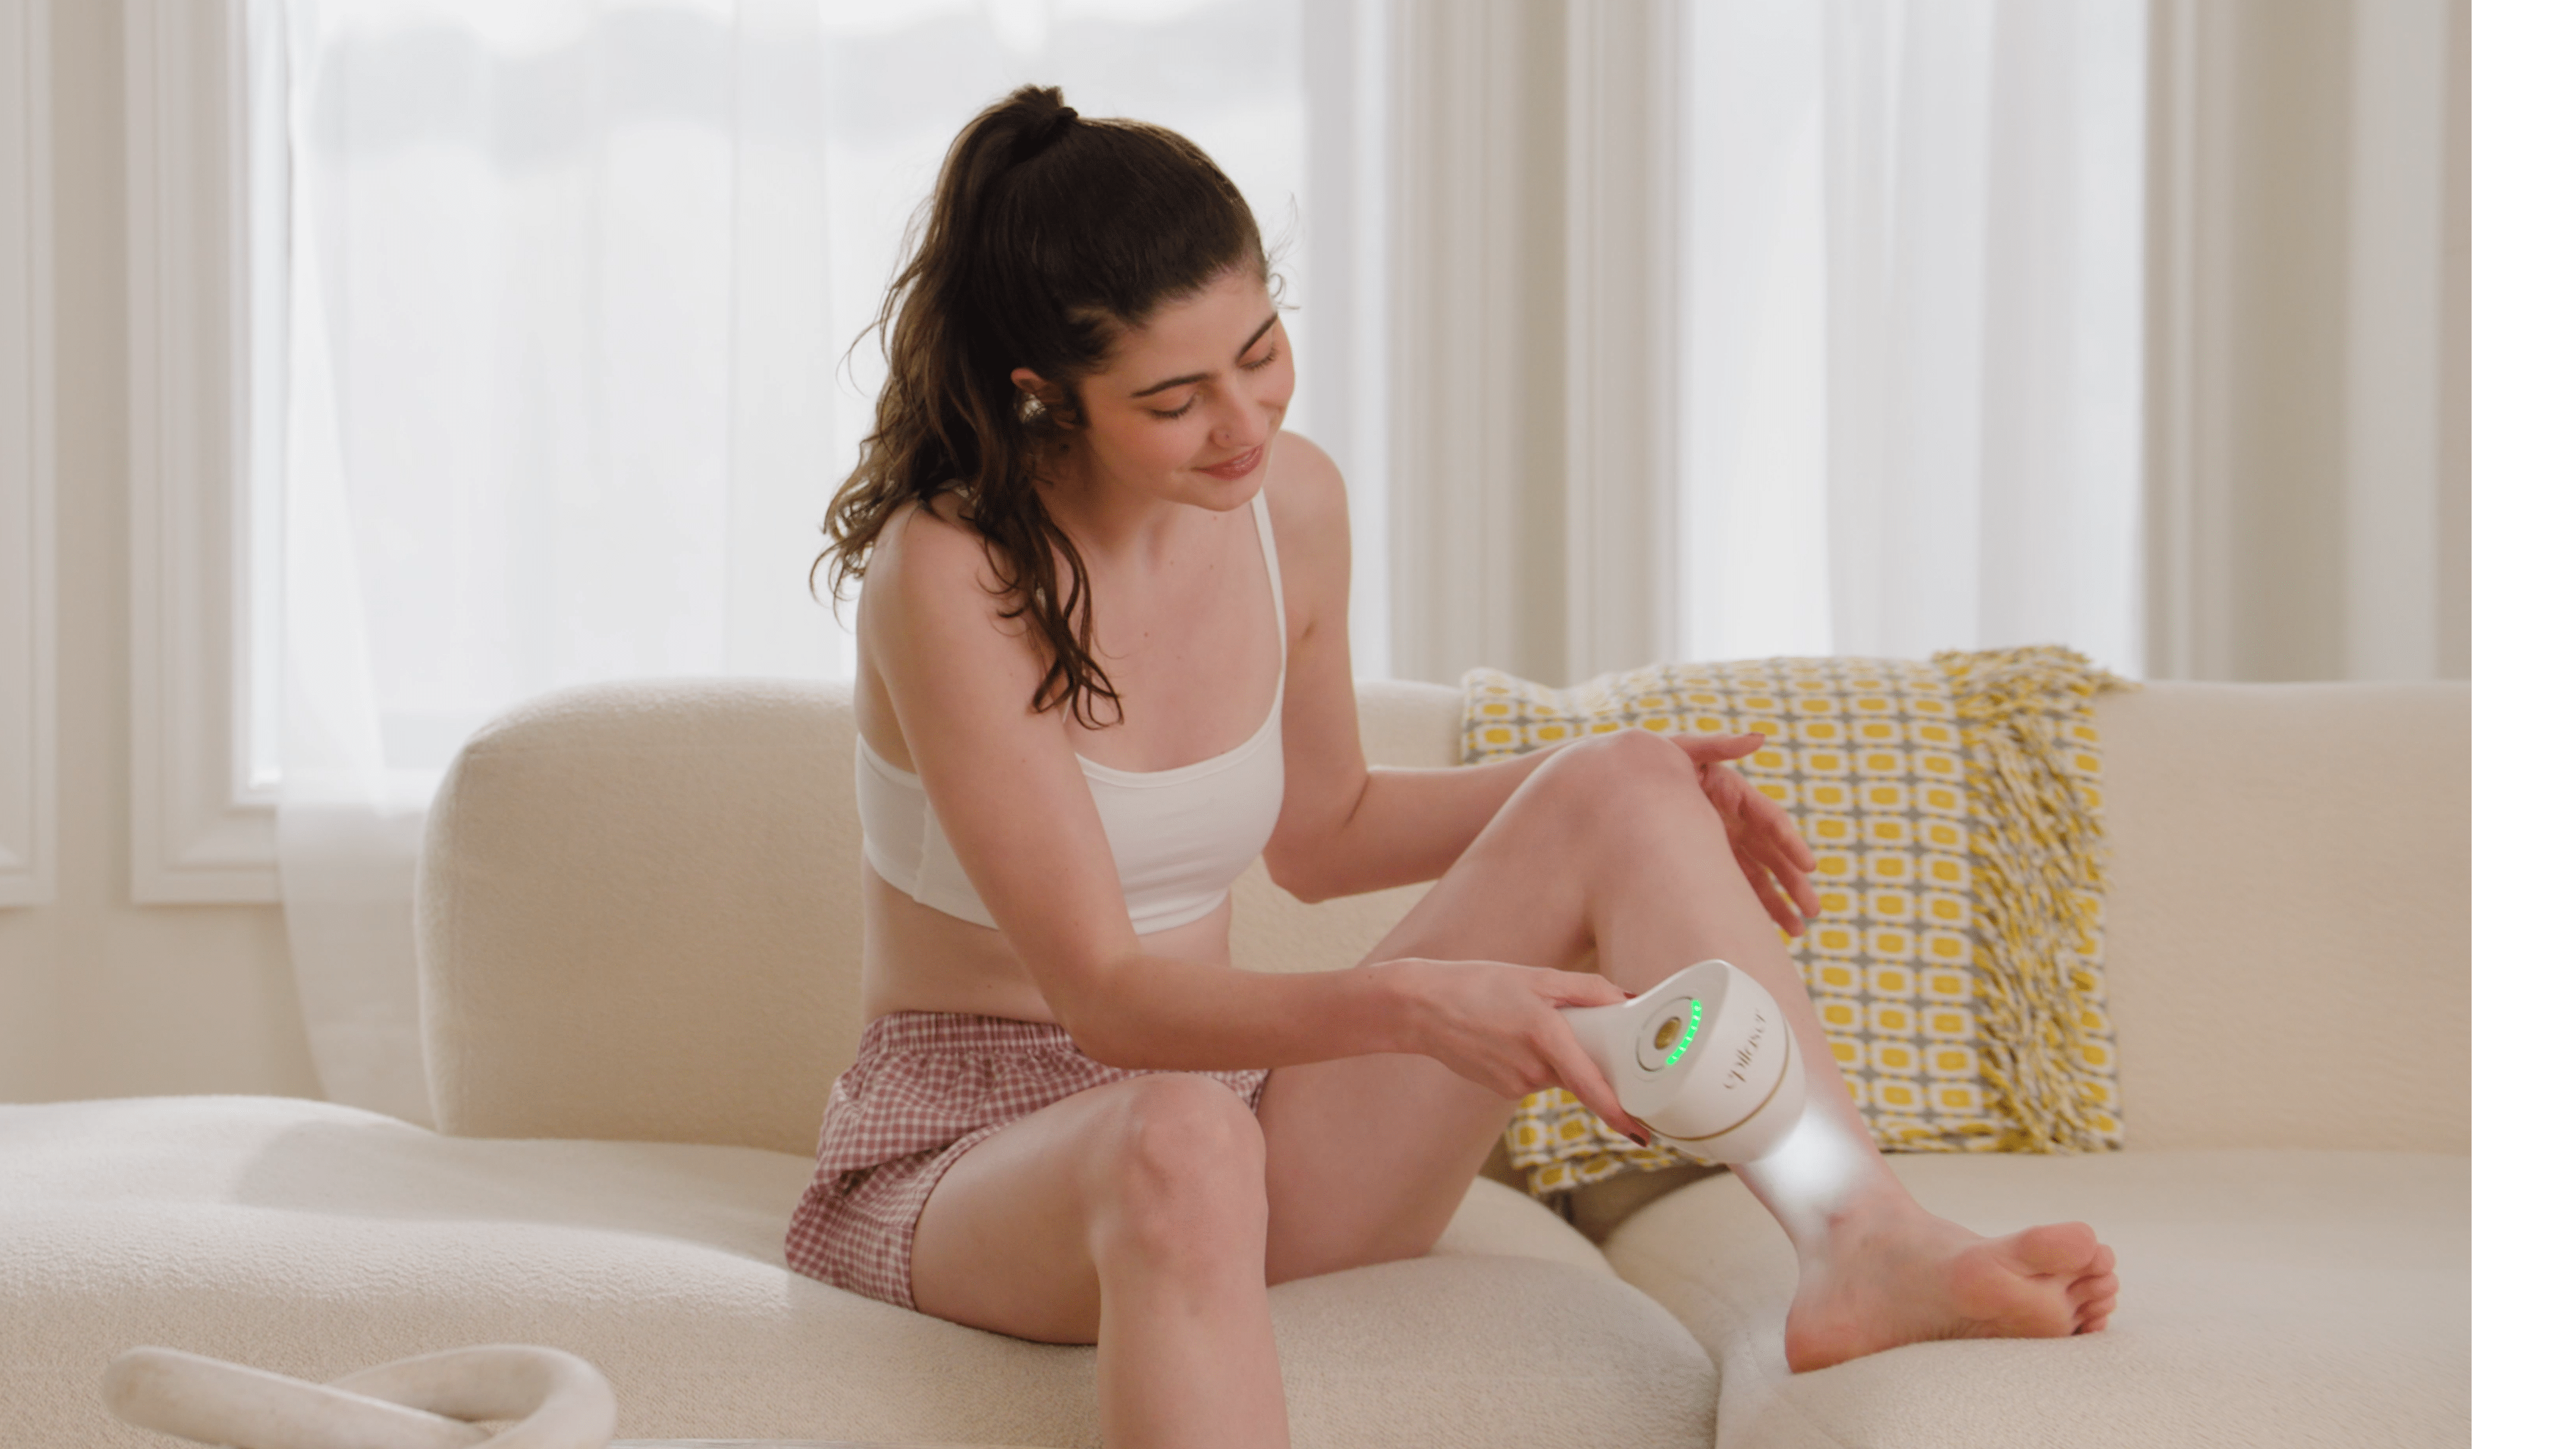
Legs
Experience silky smooth skin on your calves, shins, and thighs.

Intimate Areas
Stay luxuriously smooth on the buttocks, pubic area and bikini line.

Torso
Permanently remove unwanted hair from the neck, chest, stomach, and back.
Extremities
Say goodby to pesky hair on your hands and feet.
Where Not To Use Epilaser

Incompatible Skin Tones
Be sure to use the correct device for your skin tone. See the Fitzpatrick Scale above.

Wounded Skin
Do not use on red, swollen or injured skin, cold sores, or areas where you’ve received a skin peel or other resurfacing treatment within the past 8 weeks.

Highly Sensitive Areas
Not recommended for the nostrils, ears, nipples, genitals, or anus.

Tanned Skin
Do not use on tanned or burned skin from sunlight or tanning beds.

Darker Areas
Do not use on parts of the skin that are darker than your normal skin tone, including tattoos, dark spots, birthmarks, or moles.

Eyes
Not safe for use on eyebrows, eyelashes, forehead, temples, or anywhere near the eyes.
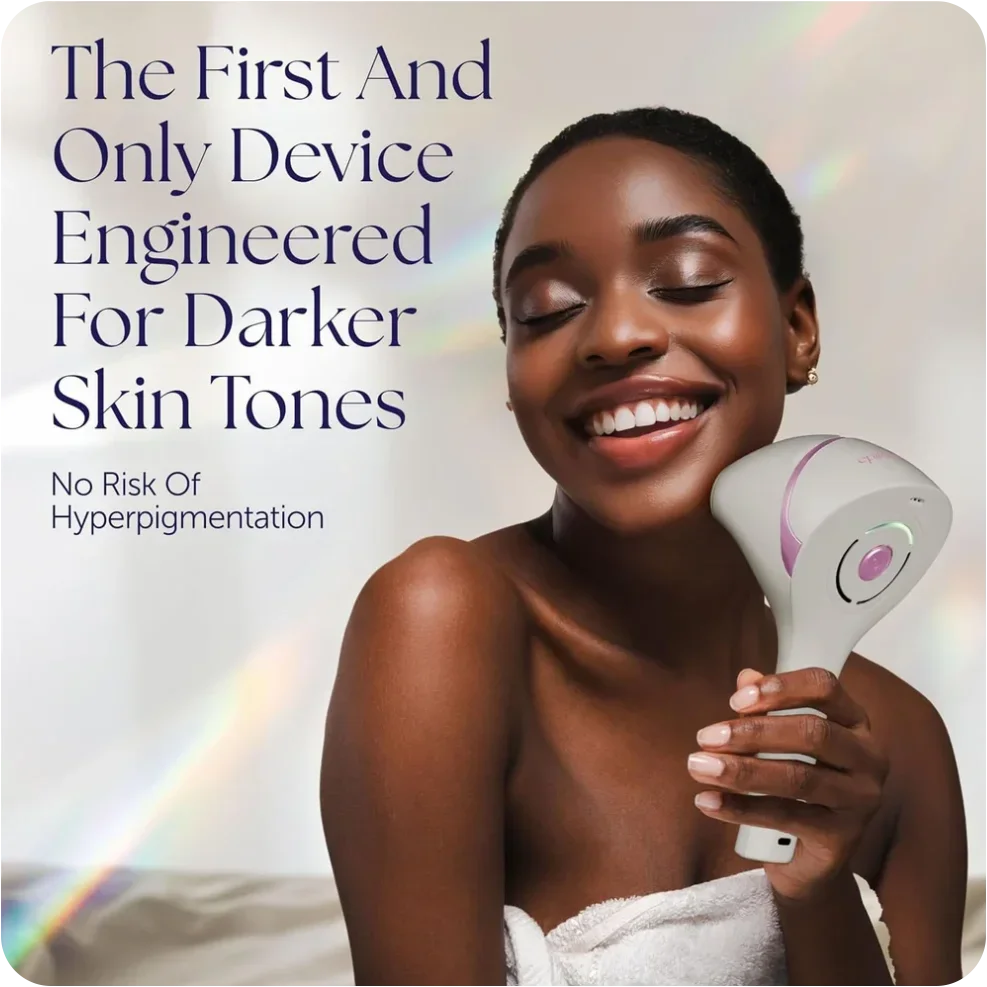
Will Epilaser Work On My Skin & Hair?
is designed for skin types 1 through 4 on the Fitzpatrick scale.


is designed for skin types 5 and 6 on the Fitzpatrick scale.
Pre-Treatment
Step 1: Charging Your Epilaser

- Ensure the Type-C charging port on your Epilaser is clean and dry.
- Connect the included charging cable to the Type-C input on your Epilaser.

- Connect the other end of the cable to a wall charger that is connected to AC power.

Monitor charging status on the LED charging indicator:
- A red light indicates the device is charging.

- A green light indicates the device is ready for use (a full charge will take about 2 hours). Disconnect once fully charged.
Step 2: Preparing for Treatment
Trim the treatment area with the included trimmer. The ideal hair length for Epilaser treatment is 2 millimeters. Clean the treatment area to remove all creams, lotions and cosmetics. Be sure the treatment area is moisturized, but don’t apply creams or lotions immediately before Epilaser treatments.

Note:
- Do not get a skin peel, or any other skin resurfacing procedure, within 8 weeks of Epilaser treatment.
- Do not tan in sunlight or a tanning bed before treatment.
- Avoid self-tanning creams, or any other product that darkens your skin.
- Avoid waxing, plucking, and electrolysis prior to treatment.
- Check your skin tone and hair color for compatibility using the Fitzpatrick Scale above.

Treatment
Step 1: Prepare the device

- Press the power button to power Epilaser On. You will hear a sound, and the LED ring will be Green.
- Remove the protective cap from the treatment window.
- Clean the treatment window with a clean, dry microfiber cloth.
Note: Epilaser will automatically power Off if not in use for 2 minutes.
- To protect the treatment window, do not place Epilaser face down onto surfaces.
Step 2: Perform a spot test

- Place the treatment window against your skin to analyze your skin tone.
- If correct, you will hear a success sound and the LED ring light will turn green.
- If incorrect, you will hear an error sound, the LED ring light will turn orange, then Epilaser will power off.
Step 3: Select a treatment setting

- When powered On, Epilaser defaults to treatment setting level 1. We recommend level 3 for most applications, but the power can be lowered for sensitive skin.
- Press the Power Button a SECOND time to enter level 2.
- Press the Power Button a THIRD time to enter level 3.
Step 4: Begin treatment

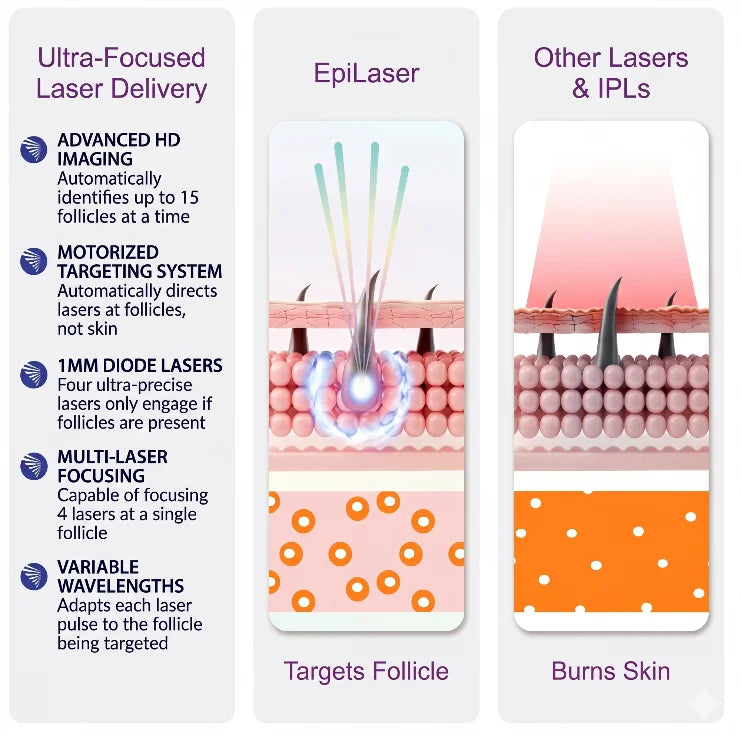
Press the treatment window flush against your skin within the desired treatment area. You will hear the SPOT™ technology engage and Epilaser will automatically detect and remove hair follicles. The LED ring will flash Green as follicles are treated. When all follicles within the treatment window are treated, a tone will sound.
Note: If Epilaser detects a non-compatible skin tone, the lasers will not engage.
- If there are no follicles present, you will not hear the SPOT™ technology engage.
- If there is discomfort, lower the treatment setting.
Step 5: Continue application

Lift the treatment window from your skin and apply to the next location within the treatment area. Be sure to lift the treatment window fully off of your skin before reapplying it to the next spot. This way, the device will recalibrate for customized treatment each time it is placed against your skin.
Repeat until all locations within the treatment area have been treated.
Note: If Epilaser is moved before all follicles are treated, a tone will sound and the LED ring will flash Orange. If this occurs, reposition the treatment window to the previous location within the treatment area.
Step 6: Power off the device

- Long-press the Power Button to power Epilaser Off.
- When Epilaser powers Off, a tone will sound, and the LED ring will turn Off.
- Clean the treatment window with a clean, dry microfiber cloth.
- If needed, clean the device casing with a gentle cleanser.
- Re-place the protective cap over the treatment window.
Note: Do NOT use alcohol or solvents on the treatment window.
Post Treatment
Some users may experience mild redness of the skin for up to 24 hours after treatment. An ice pack can be applied to the treatment area to reduce any discomfort.
Avoid artificial light sources, such as tanning beds, immediately after treatment.
Avoid any potentially irritating products and activities, including saunas, hot tubs, tight-fitting clothing, bleaching creams, perfumed products, or skin resurfacing products, for 24 hours after treatment.
What to Expect
Your Epilaser Journey
For optimal results, we recommend Epilaser treatments 2 to 3 times each week. Permanent laser hair removal is a process. In the early stages of your Epilaser journey, you may see hair regrowth.
Hair will continue to grow back thinner and thinner, until regrowth is eliminated altogether. Everyone’s hair growth patterns are unique, but arms and legs tend to be the most stubborn areas in regard to regrowth. For permanent results, these areas may take longer than other body areas.
Beyond three months
New hair follicles can develop over time. You may choose to follow up from time to time with touch-up treatments. In areas that have already been treated 2 to 3 times per week for 3 months, touch-up treatments will be quick and easy.
Day 1
You may still see hair after your initial Epilaser treatment. Epilaser doesn’t simply burn hair like other at-home devices: it scientifically deactivates hair follicles at the root.
Week 1
After a few treatments, the hair will begin to grow back thinner and less dense. You’re making progress already! Keep on schedule and keep up the good work!
1 Month
After a month of regular use (2 to 3 sessions per week), you should see a substantial reduction in hair regrowth. Epilaser treatments will become quicker, and the device will activate less frequently, as there are fewer follicles to treat.
3 Months
Most users report a permanent reduction of regrowth by this stage. Congratulations—you’ve unveiled your best self! Enjoy your silky-smooth skin.
Maintenance
Maintaining Your Epilaser
- Keep your Epilaser clean and dry between uses, especially the treatment window.
- Store in a clean, dry location, away from children, heat sources, and open flames.
Troubleshooting
My Epilaser won’t power ON: Ensure your Epilaser is fully charged.
While my Epilaser is charging, the LED indicator is not lighting up: Ensure you are using the provided charging cable and that your Epilaser is properly connected to a functioning power source.
My Epilaser has stopped working: Ensure your Epilaser is fully charged and powered ON. Ensure you are using the Epilaser device that is compatible with your skin tone. Ensure the treatment window is held flush against your skin.